Here’s how to enable Bilingual Keyboard on your iPhone – Set Multilanguage on your built-in iOS keyboard so auto-correct won’t behave badly anymore
Frustrate no more! Now you can do multilingual typing with one keyboard only.
- This article shares easy steps to multilanguage support on your built-in iPhone keyboard, so that text auto-correction won’t mess up anymore.
- Although on the steps are mentioning iPhone or iOS 18, but the same steps are applicable for iPad and iPadOS 18.
- For other interesting articles, head to: iOS Tip & Trick, Games, FREE games & stuffs, how-to and more at JILAXZONE.
- If you find this article / content inside is already obsolete, do let me know by commenting on the comment section below so that I can update the article to reflect the latest process/news. Thanks.
The World is getting more and more interconnected, hence many of us use multiple languages on daily basis, be it when talking or chit-chatting. When it comes to chatting, messaging or texting in general, however there were frustrations among iPhone users who are using built-in iOS keyboard with auto-correct turned on (I was one of them), mainly because the built-in iOS keyboard only cater for one language at a time, so when you type something that’s not part of the language, iOS will try to auto-correct the wording for you – which most of the time is not something that you want – causing you to delete the auto-correction then retype the word. While you can setup multiple keyboards and then switch the keyboard into the other language, but believe me, it’s pretty hassle when you are chit-chitchatting with multiple persons on multiple different languages as you have to keep switching. But that is now a history.
Ever since Apple releasing iOS 18, now the built-in iOS keyboard supports bilingual or multilanguage, so you don’t need to keep switching between keyboard when texting with different languages. So to cut short, here’s how you can easily enable bilingual on your built-in iOS keyboard.
Here’s how to enable bilingual keyboard on your built-in iOS keyboard
Check out the simple steps below to enable 2 languages on your built-in iPhone keyboard.
1) Ensure your iPhone is running at minimum iOS 18.
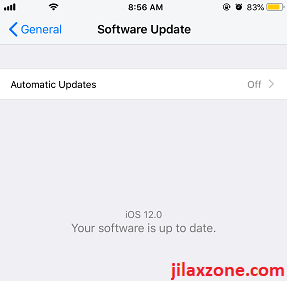
Open Settings > General > Software Update, to see if you have the required iOS version.
If you are not on iOS 18 yet or below, do check the following link to update it to iOS 18: Updating to iOS 18 and iPadOS 18 at JILAXZONE.
2) Open Keyboard Settings.
Open Settings > General > Keyboard > Keyboards.
3) Add New Language to the keyboard.

a) Under KEYBOARDS, tap on the built-in iOS keyboard (typically the 1st entry, if you are not using any 3rd party keyboard). If you are doing it correctly, you should be able to see LANGUAGE and KEYBOARD LAYOUT sections.
b) Under LANGUAGE section, you should see “Add Language…” entry. Tap on it.
c) Inside Add Language screen, choose the language you want to add to make your iPhone keyboard to be bilingual.
4) Give it a try!
Exit from Settings and try opening any apps that triggers you to type.
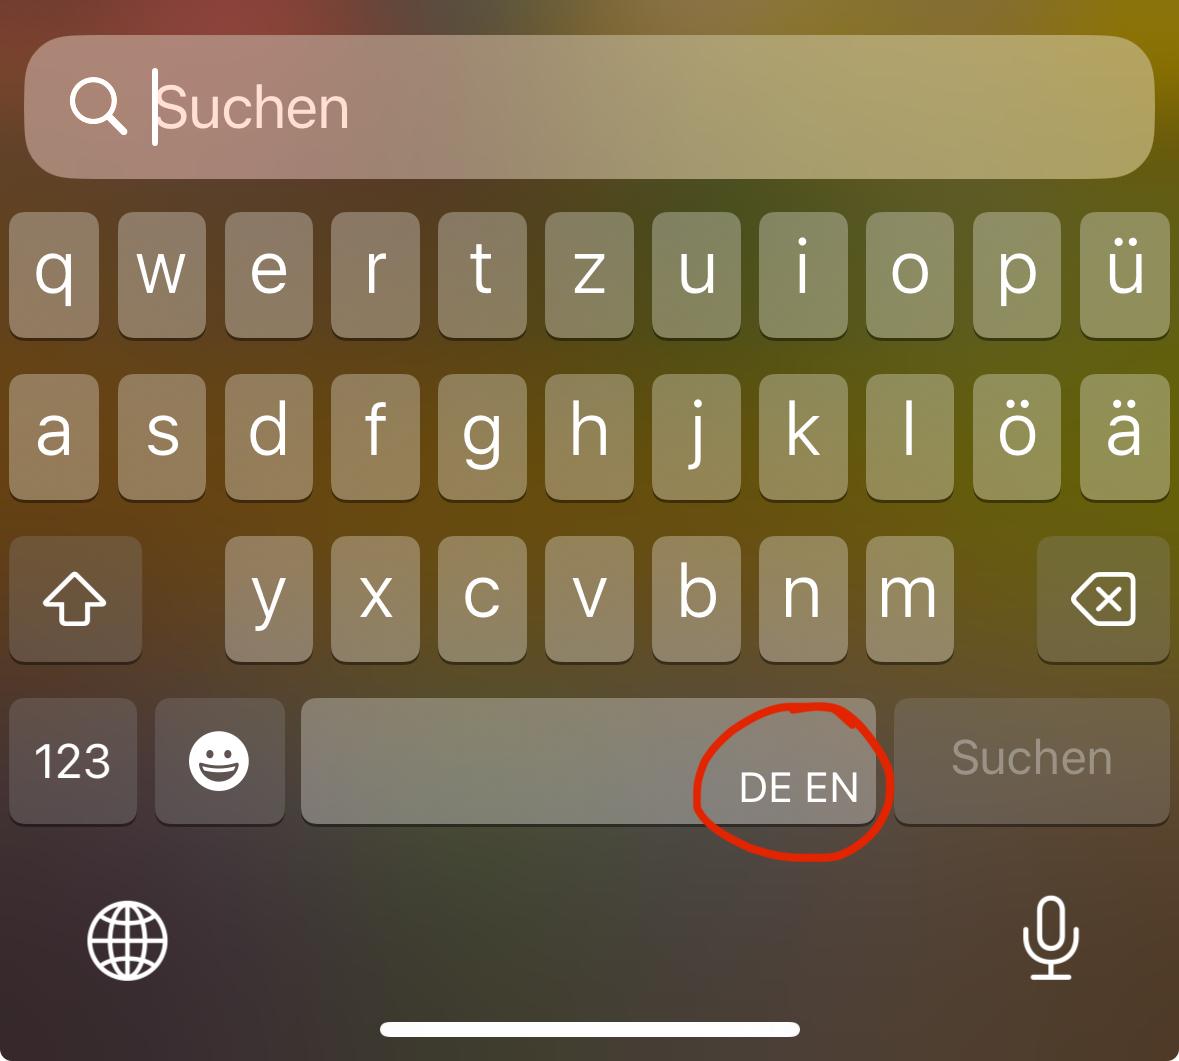
If you are doing all the steps correctly, you should be able to see on your iOS keyboard spacebar button, the 2 languages you chose earlier (for my case, it’s showing as “EN ID”, because I chose English and Indonesian).
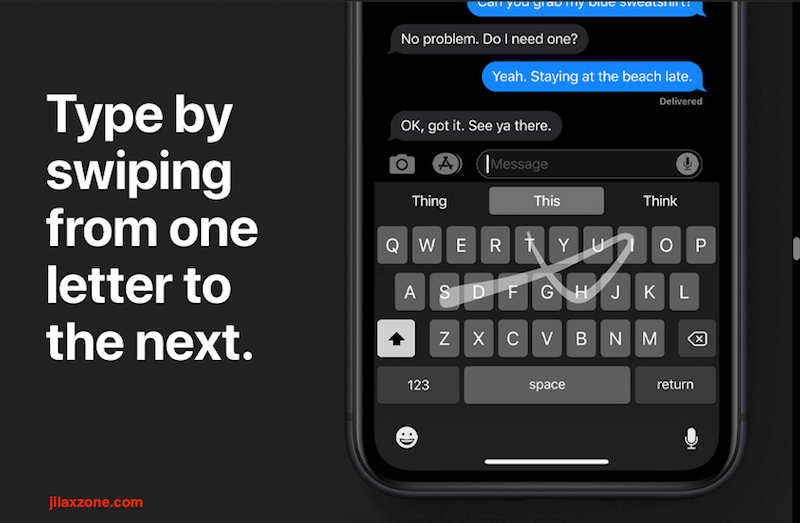
Another keyboard related tips: Enable swiping on your built-in iPhone keyboard, check out the detail here: Swiping on built-in iPhone keyboard at JILAXZONE.
Bring it all together
Auto-correct never frustrate me anymore with the bilingual keyboard setup I did on my iPhone. So, if you find auto-correct frustrates you, be sure to setup your iOS keyboard to be bilingual – to add in your other commonly used languages and live happily ever after. In case you encountered any difficulties and/or have queries, don’t hesitate to put your queries or thoughts on the comment section down below. I’ll be happy to assist.
Interested to see other iPhone and iOS tips and tricks? Check them out here: iPhone and iOS tips and tricks at JILAXZONE.
Do you have anything you want me to cover on my next article? Write them down on the comment section down below.
Alternatively, find more interesting topics on JILAXZONE:
JILAXZONE – Jon’s Interesting Life & Amazing eXperience ZONE.
Hi, thanks for reading my curated article. Since you are here and if you find this article is good and helping you in anyway, help me to spread the words by sharing this article to your family, friends, acquaintances so the benefits do not just stop at you, they will also get the same goodness and benefit from it.
Or if you wish, you can also buy me a coffee:

Thank you!
Live to Share. Share to Live. This blog is my life-long term project, for me to share my experiences and knowledge to the world which hopefully can be fruitful to those who read them and in the end hoping to become my life-long (passive) income.
My apologies. If you see ads appearing on this site and getting annoyed or disturb by them. As much as I want to share everything for free, unfortunately the domain and hosting used to host all these articles are not free. That’s the reason I need the ads running to offset the cost. While I won’t force you to see the ads, but it will be great and helpful if you are willing to turn off the ad-blocker while seeing this site.

